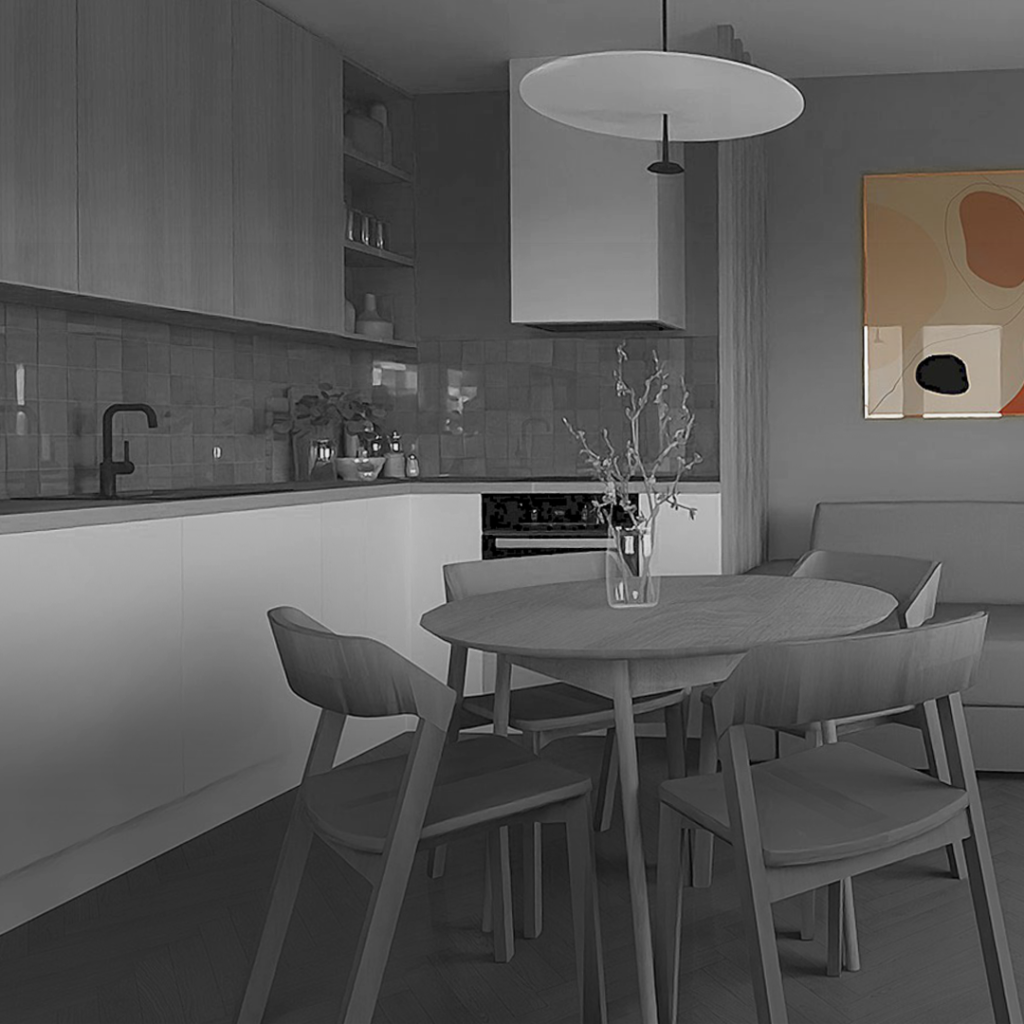
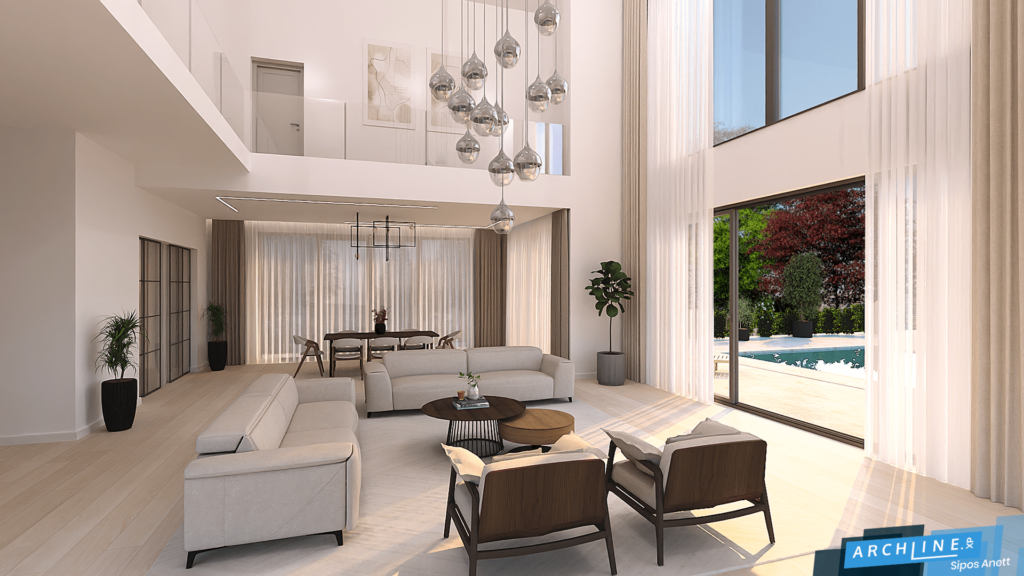
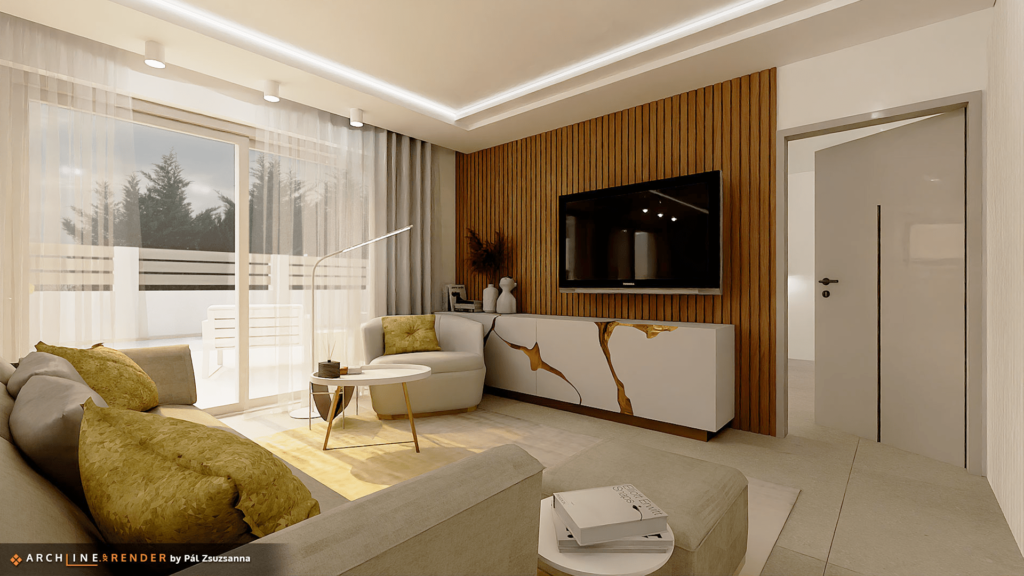
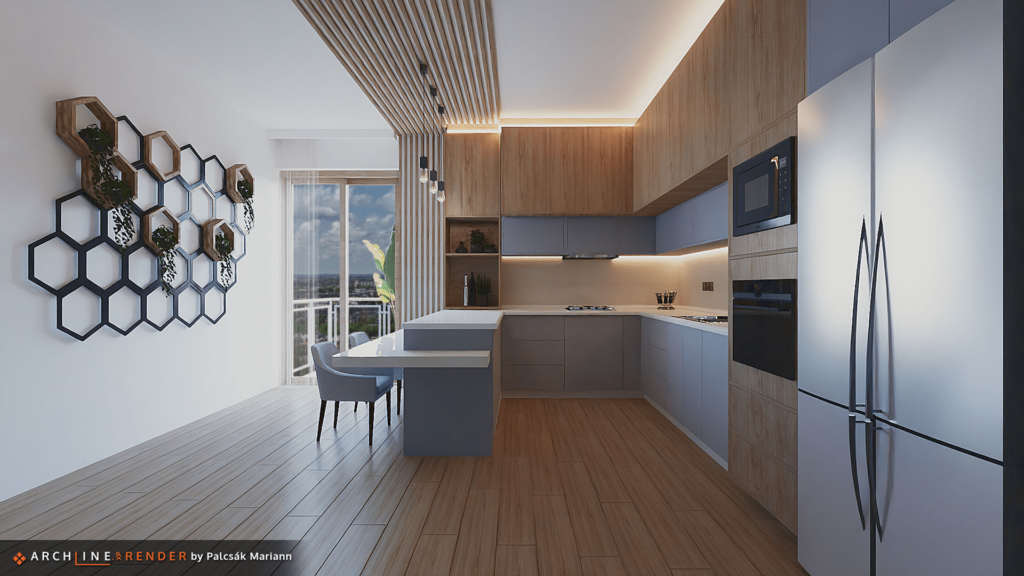
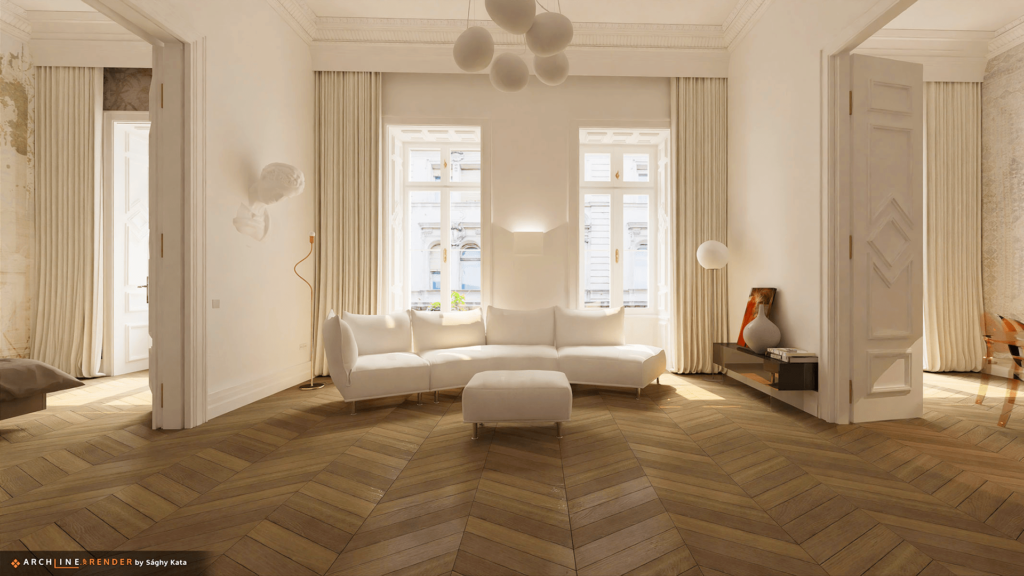
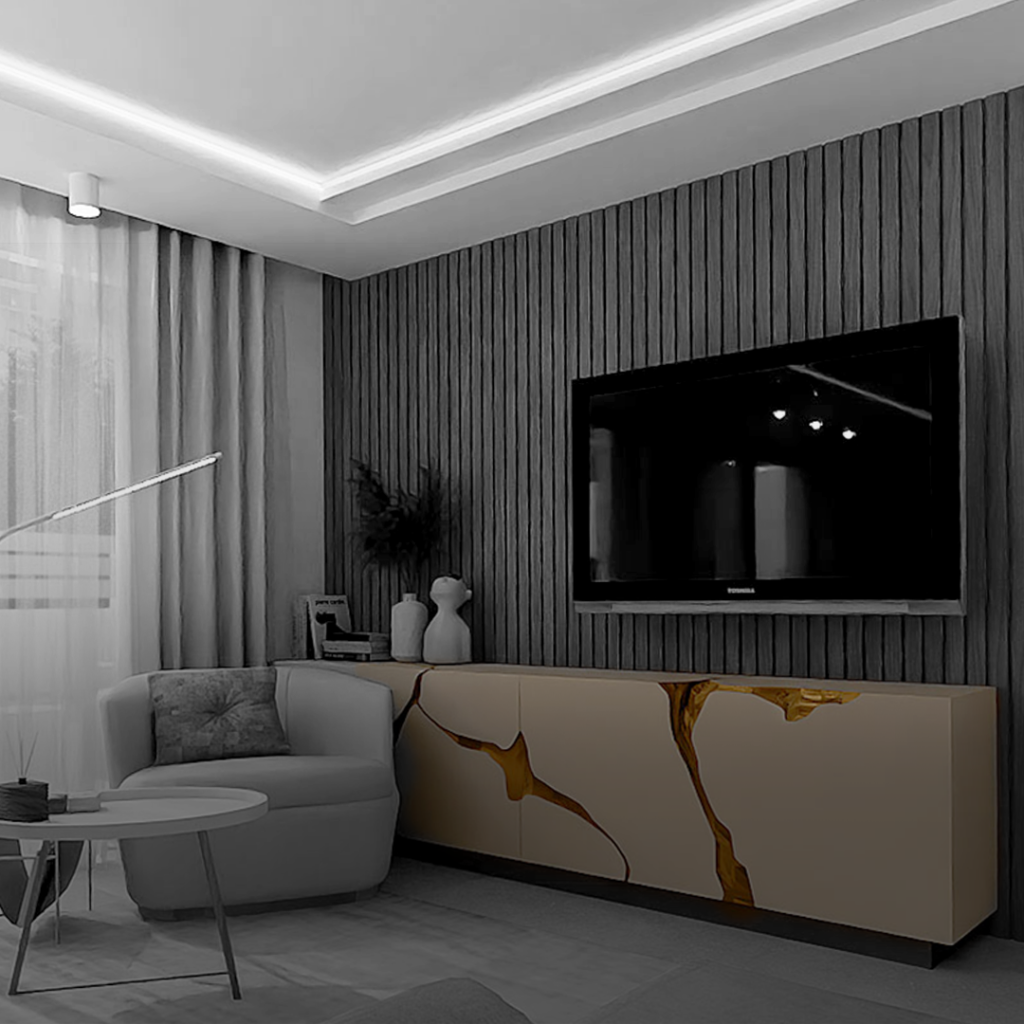
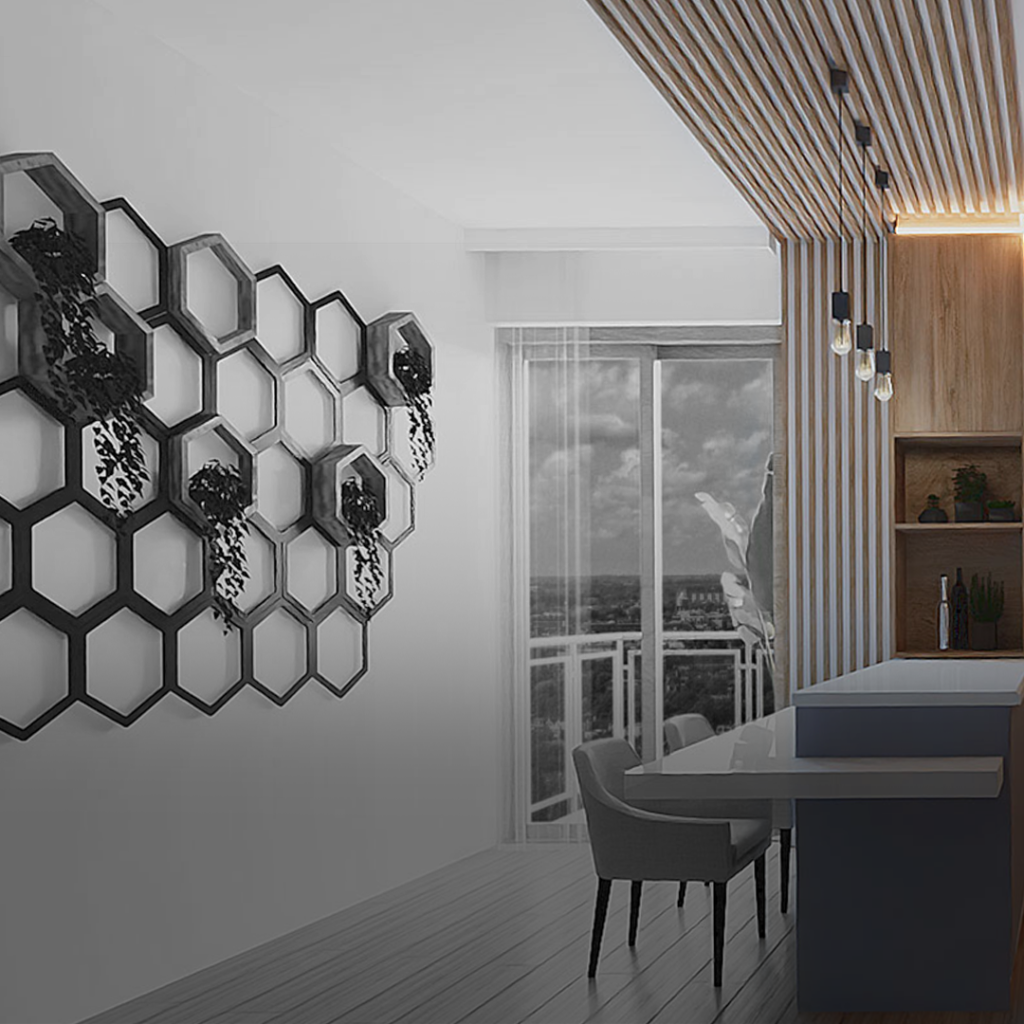
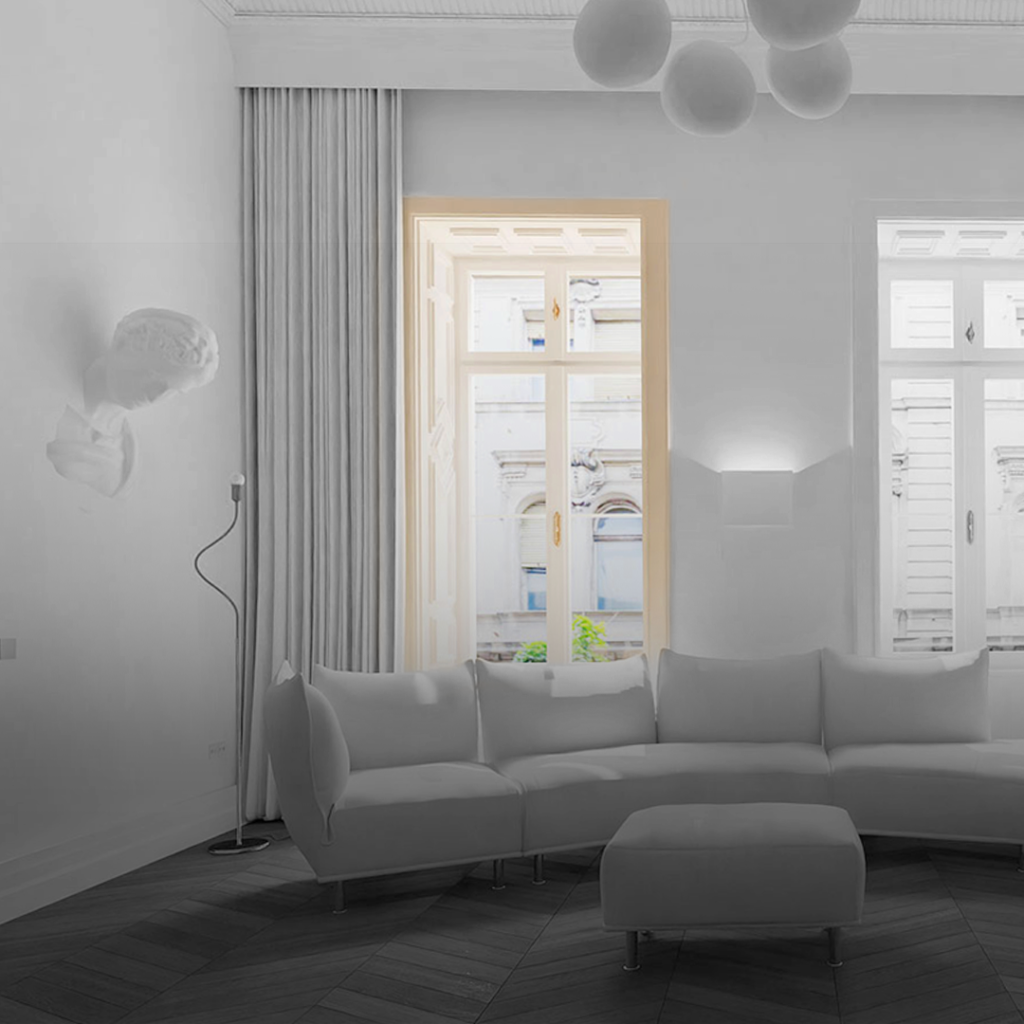
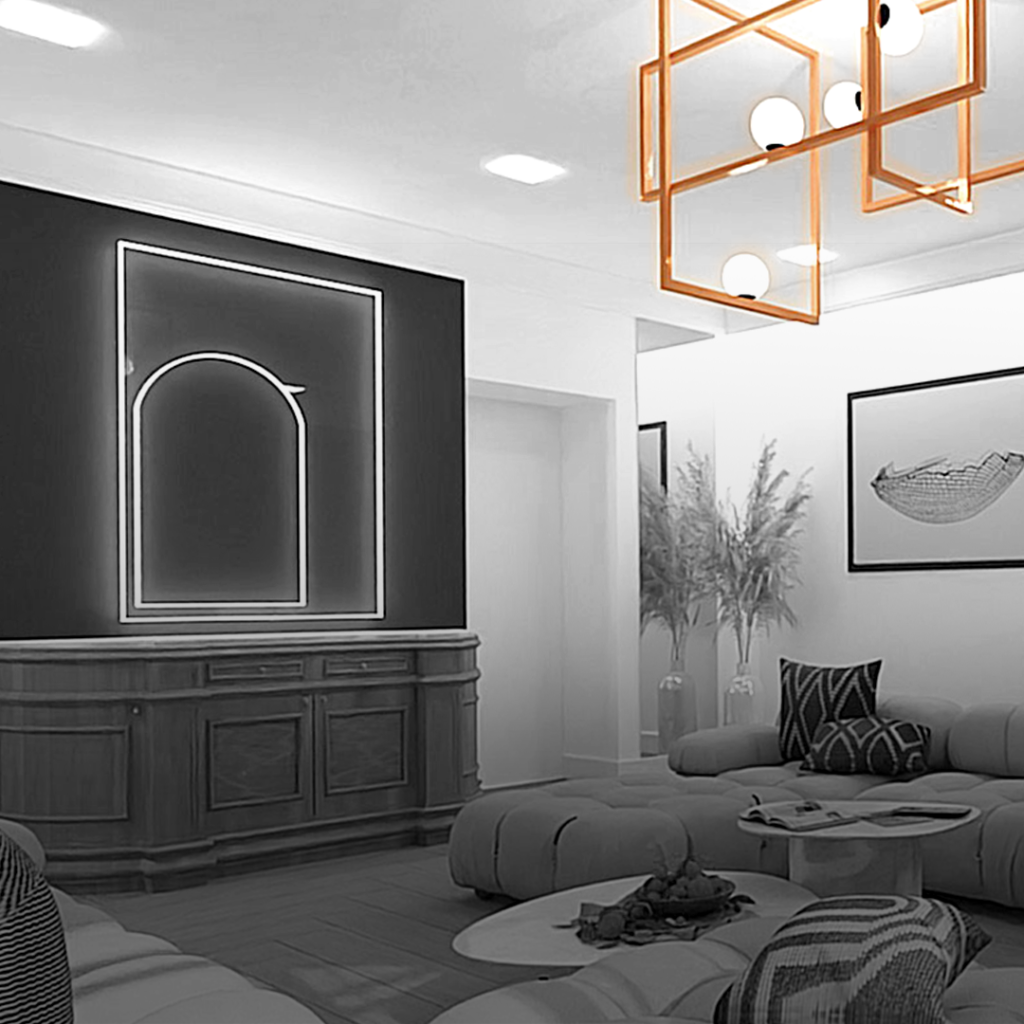
Photorealistic visualisation

Creating photorealistic images is not simply a matter of pressing a button. It requires understanding of handling lighting and shadows, knowledge of the physical properties of materials, identifying the ideal point of view, and gradually building up an image that appears realistic. With ARCHLine.XP’s new rendering engine, setting up renders is simple, rendering is fast, and it can be learned in just a day. Take your designs to the next level!


Rendering presets
The new rendering presets, “Low (Q1), Medium (Q2), and Custom (Qx)” levels, allow you to consciously create the highest quality image in a few steps. The “Q1” setting is perfect for producing a work-quality image at the beginning of the render process with a low resolution. The “Q2” setting is ideal for scenes approaching the final image. The “Qx” setting can be fully customized to your needs: you can determine the values separately based on the number of light sources and the complexity of the model.
Samples per pixel
This refers to the number of ray tracing samples calculated per pixel in the image. This controls anti-aliasing, smoothing out the “jaggies” along the edges of objects and shadow. Increasing the number of pixel samples results in a clearer, higher-quality image. For final renders with complex lighting, choose 10 or higher; for quick drafts, choose less than 5.
Renderpass count
The rendering engine uses a progressive rendering method, refining the generated image at each step. Increasing the number of steps increases the rendering time, but improves the image quality. The required number of steps depends highly on the scene being rendered. The higher number of steps (> 10) is useful for scenes with complex lighting. The recommended number of steps for the final render image is 30. A lower number of steps (< 10) is recommended for quick previews.
Denoiser
This module denoises the entire scene at the end of rendering or when rendering is interrupted. It removes image noise while recovering and enhancing details, resulting in sharper details and a cleaner, higher quality image.
Results during process
You can stop the rendering process at any time if you are satisfied with the result. The denoiser module denoises the entire scene before rendering is complete. If the rendering process hasn’t reached 50%, a dialog box will appear asking if you want to apply the denoiser. If you select no, the rendering process will stop immediately.
Sharper details
This effect reduces noise while enhancing and sharpening images. It helps you create sharp, detailed images that are guaranteed to impress your client. However, if you prefer a softer, more subtle look, simply turn it off.